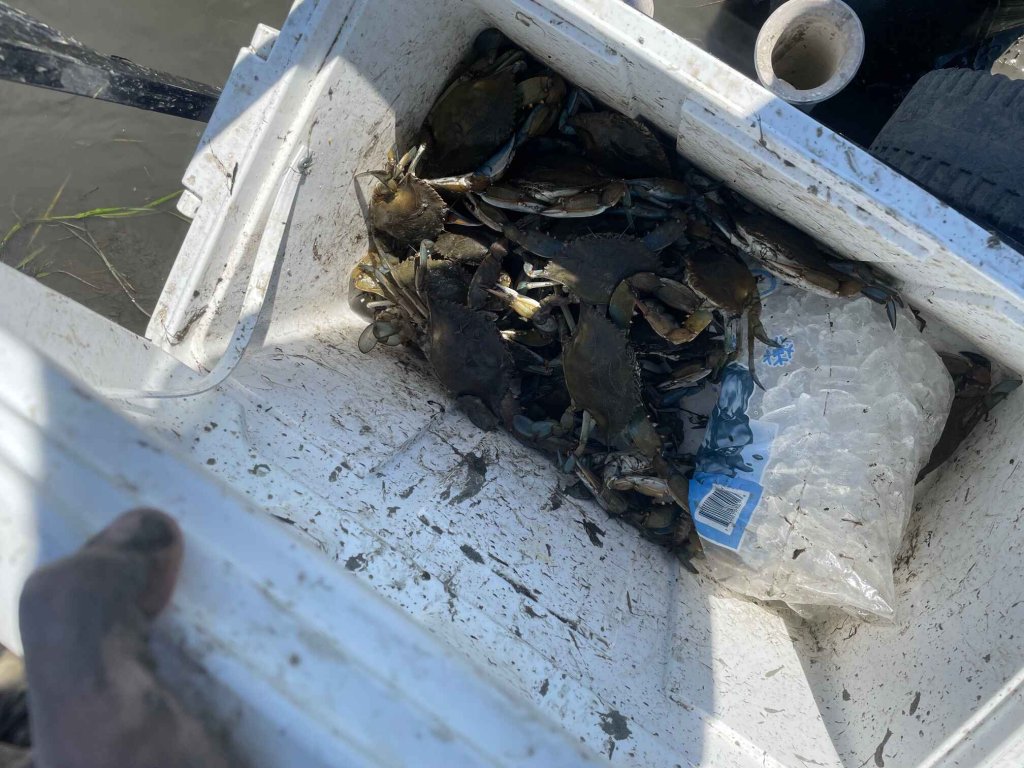
A whole bunch of beautiful male blue claws, AKA blue crabs, ready for the pot - but it's better if you clean them first.
“…Crabs may be prepared in fifty ways and all of them are good.” ~H. L. Mencken
Whether you call it a blue claw or just a blue crab, these are some of the best-eating things that come out of the bay – and while they’re pretty easy to catch, getting your money’s worth from them is a labor of love.
For now, picking and eating the meat will remain laborious, but fortunately I have come up with a method for cleaning these crabs prior to cooking that will save you a ton of time and mess. Best of all, it’s easy, requires no tools, and is impressively fast. I can clean approximately 30 crabs in under 15 minutes – probably closer to 10.
And you can too. Here’s how to do it.
Remove the Carapace
The first step to a perfectly cleaned blue crab is to remove the carapace. When I was younger I had no conception of how to do this properly, and I used to use a butter knife to pry it off. It was messy, ineffective, and crushed the inside of the crab. That didn’t ruin the meat but it made it harder to pick the crab later. This way I’m going to show you now is superior in every way.
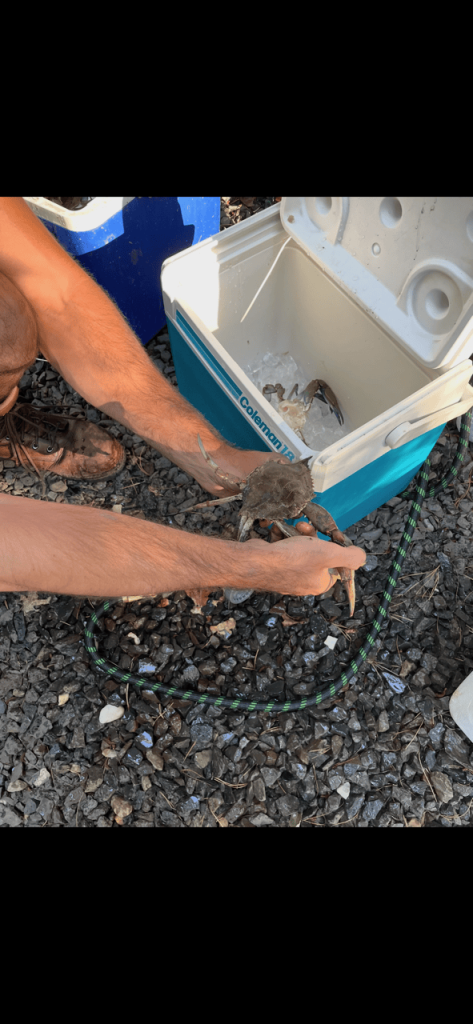
Grasp the grab by all eight legs and by both claws; you will need this leverage to pry off the carapace. If you don’t get a good grasp on all of the crab’s legs and claws, you’ll just rip them off instead of prying off the carapace.
Then, place the point of the carapace against some sturdy edge – in my case, I’m using the edge of a cooler as shown in the picture below.
First you need to remove the carapace; grasp the crab by all its legs and both claws, place on point on a sturdy object (like the corner of this cooler) and pull down in one sharp movement to remove the carapace.
Then, in one swift, strong motion, pull down on the crab. The carapace will rip clean off and with it will go most of the crab’s guts. This should be quick and relatively effortless on your part.
Remove the Mouthparts, Apron and Gills
You’ve just completed 90% of the cleaning, but now you want to rip off the mouthparts, apron and gills, in no particular order. You can do this in any order you choose but I’ll go in the order I just described.
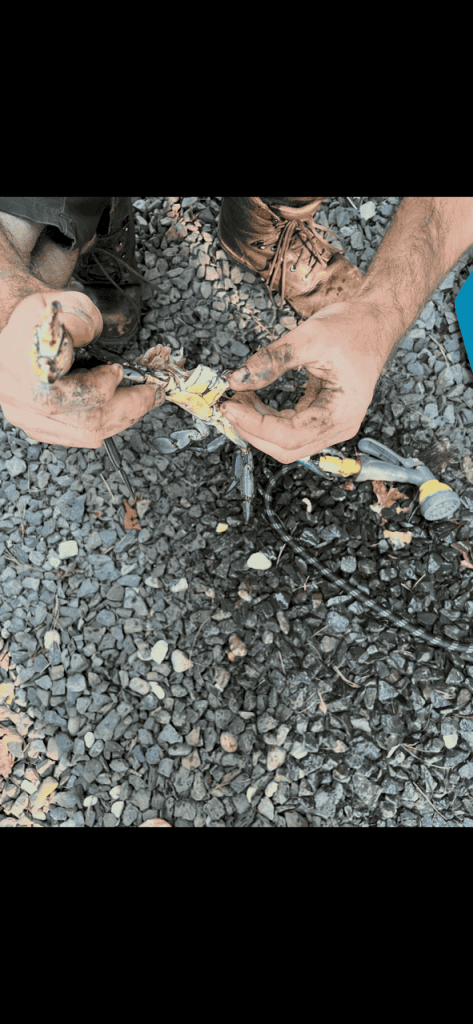
To remove the mouthparts, just grasp them and twist them off, as shown below.
Next, remove the mouthparts; Just break them off with your fingers as shown here.
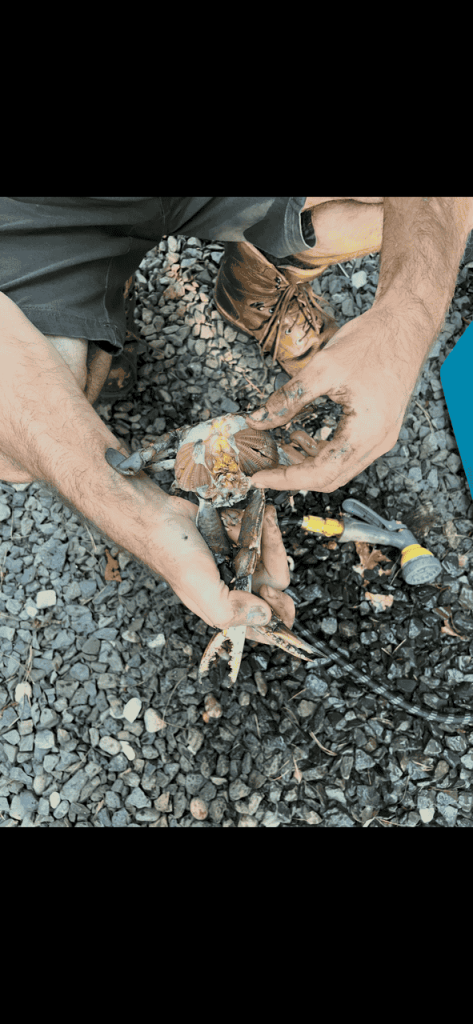
Then, pry the apron down away from the body and remove all underneath it adjacent to the shell. You can use a knife to lift the apron up as I have shown in the image below, although, since I’m touting this as a toolless method for cleaning a crab, you don’t absolutely need one.
Next, remove the apron and what's underneath. You don't need a tool for this, but as you can see in the picture, I'm using a knife, which makes it a lot easier.
Now you need to remove the gills. This can also be done without tools. To do so, grasp the gills as I have shown in the image below:
Now, pinch off the gills as shown here.
Then pinch and twist the gills away from the body. Some parts may remain on the side of the crab, and that’s not a big deal.
Clean Out the Guts (AKA Tomalley)
Lastly, you need to remove the crab’s guts. What will remain in the cavity of the crab after prying off the carapace is an organ known as the hepatopancreas, also referred to as tomalley or mustard, because of the color.
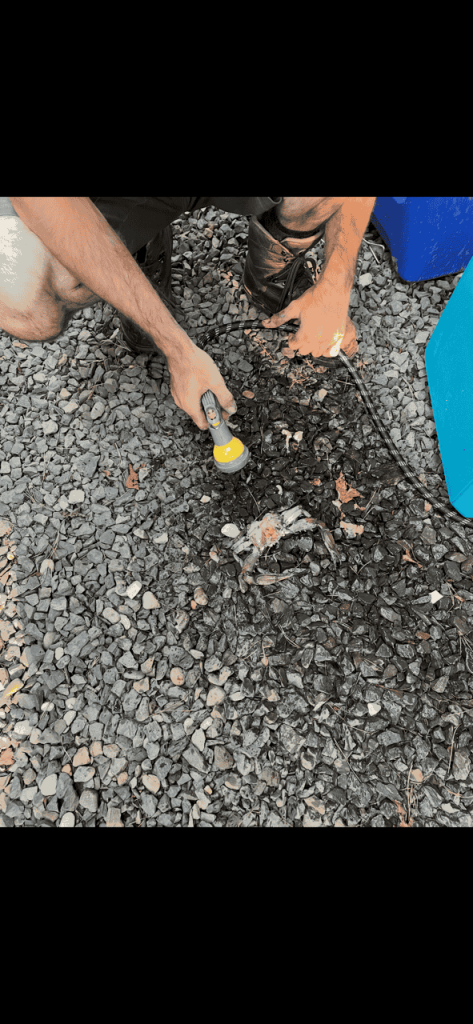
Some people like to eat this, I prefer not to. If you are like me, the best way to clean it out is by giving the crab a good strong spray with the jet of a hose. A second or two, and you’ll have a completely cleaned crab that’s ready for the pot.
Using a hose, spray out the hepatopancreas (AKA tomalley, AKA mustard, it's the guts).
Lastly, you need to remove the crab’s guts. What will remain in the cavity of the crab after prying off the carapace is an organ known as the hepatopancreas, also referred to as tomalley or mustard, because of the color.
Some people like to eat this, I prefer not to. If you are like me, the best way to clean it out is by giving the crab a good strong spray with the jet of a hose. A second or two, and you’ll have a completely cleaned crab that’s ready for the pot.
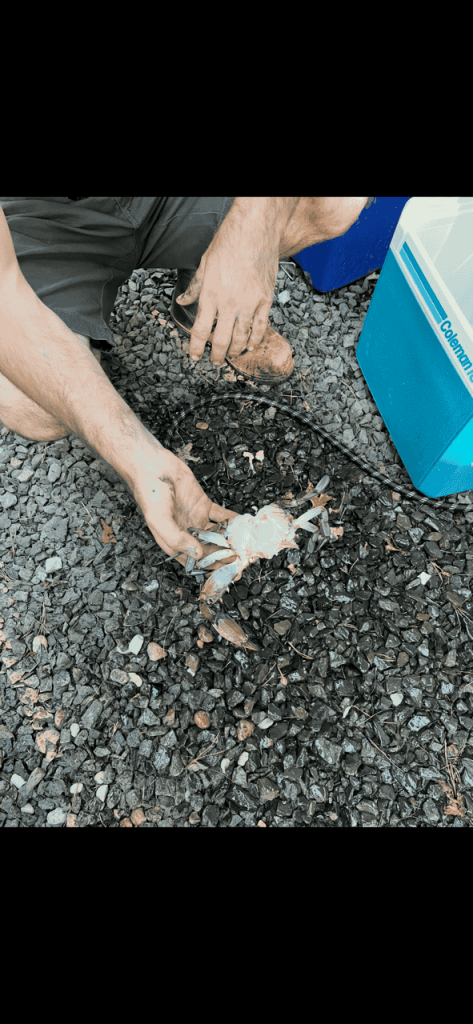
As you can see, this crab is perfectly cleaned and ready to cook - there'll be no mess later, which makes for easier picking and access to the meat.
Into the Pot
Repeat this process till all your crabs are cleaned, and you’re ready to get cooking. I like to boil my crabs; throw them in a pot with some water, bring it to a boil and boil for 10 minutes. Don’t go longer or the meat will pull away from the shell and overcook.
Now all you need to do is go out and fill a cooler so you can try this for yourself.