“Following the Tao
Is like stringing a bow:
The high are brought down,
The low are lifted up.
Pull yourself down when too high,
Lift yourself up when too down.
Take from what has too much” ~Tao Te Ching
Traditional archery can be an incredibly rewarding pastime, and it helps you build strength and focus. On top of that, for any hunters out there, it’s also the case that many states have bow seasons for various game that are far more liberal than corresponding firearms seasons. That alone is reason for sportsmen to take up the pursuit.
Another thing: traditional archery is extremely accessible, and I daresay it can even be borderline affordable (as the shooting sports go). On top of that, you only need a few things to get started. Here they are, in no particular order.
A Bow and Matched Arrows
First things first, if you want to get into traditional archery you will need a bow and arrows appropriate for it. That means the arrows should be of appropriate length, fletched with feathers, and have the right spine – that is, stiffness.
This is something I covered in greater detail in one of my previous posts. Preview that post (link above) for more information on why you need feather-fletched arrows of a suitable spine and if you still have questions, let me know in the comments.
An Archer’s Glove
Most trad archers shoot with their fingers, so I’m not going to cover mechanical releases here, because that is more a topic for compound shooters.
Nonetheless, you will want an archer’s glove if you intend to seriously get into traditional archery. There are many different manufacturers and brands that make quality stuff, but the best thing for you to get is a good leather shooting glove.
The glove will cover the index, middle and ring fingers of your shooting hand, providing a buffer between them and the string. While sensitivity will suffer slightly, the glove will protect your fingers, and make shooting a lot less uncomfortable. A glove like this will work for you if you practice Mediterranean draw, whether you shoot split finger or three below.
Believe me, if you shoot a heavy bow (above 50 pounds at full draw) and you don’t use a shooting glove, it’s going to hurt after a few arrows leave the string. If you start getting into several-hundred-arrow sessions at the range, you will feel it, and it will not feel good.
There is one alternative here. You can use a finger tab instead of a glove. This is basically a cutoff of fur or leather that sits between your fingers and the string. It’s not the same as a glove, technically, but it does the exact same thing.
I don’t care which you use, and neither will the target, but make sure you use one of them.
A Bracer
Some traditional bows will not smite your bow arm. Others will rain stinging hell upon it with every shot.
While the phenomenon I have passively referenced depends heavily on your form and the brace height of your bow, it is not something you want to experience.
To be clear, when you shoot, sometimes the bowstring will strike your bow arm’s forearm. A few slaps from the bowstring is nothing to cry about, but after a few hours of shooting, your arm will be badly bruised.
The worst part is that learning to flinch before this happens is akin to flinching before breaking the trigger of a gun. It causes issues with accuracy.
The solution is to avoid the discomfort in the first place. Get a bracer and wear it on your bow arm. It will protect you against the string, and for that reason I consider it an absolute essential piece of gear if you want to get into traditional archery.
A Stringer
A stringer is a tool used to string and unstring a traditional bow. Now, let me be clear – you can string a bow (through more than one method, that is something I will cover in another post) without a stringer, but for a beginner, it’s best to get one.
The stringer applies even pressure to both limbs as you string the bow, which helps prevent twisted and warped limbs. It also helps prevent issues with the string not sitting properly in the notches at the limb tips.
Anyway, stringers are cheap, easy to find (honestly, you can even make your own) and even easier to learn to use. While you’re learning, I suggest you get one – then you can stop back here for a tutorial on how to string a bow without one.
Somewhere to Shoot
I would say you need a target to get started, and that is true, if you plan to shoot in the backyard. With that said, many states’ Divisions of Fish and Game maintain public ranges where licensed hunters and their guests can shoot for free. Those are where I shoot. These ranges have targets set up, and usually have shooting benches and rests for archers.
If you don’t have a range near you, then add an archery block or target to the list, because that is something you will need.
Nice to Have, but Not Absolutely Essential
There you have it, the complete list of what you absolutely must have if you want to get into traditional archery. Here it is again:
A bow and matched arrows
An archer’s glove
A bracer (arm guard)
A target (or a place to shoot
With that said, there are a few more things that are nice to have at the range which will make your time there more enjoyable. They are the following.
An Arrow Puller
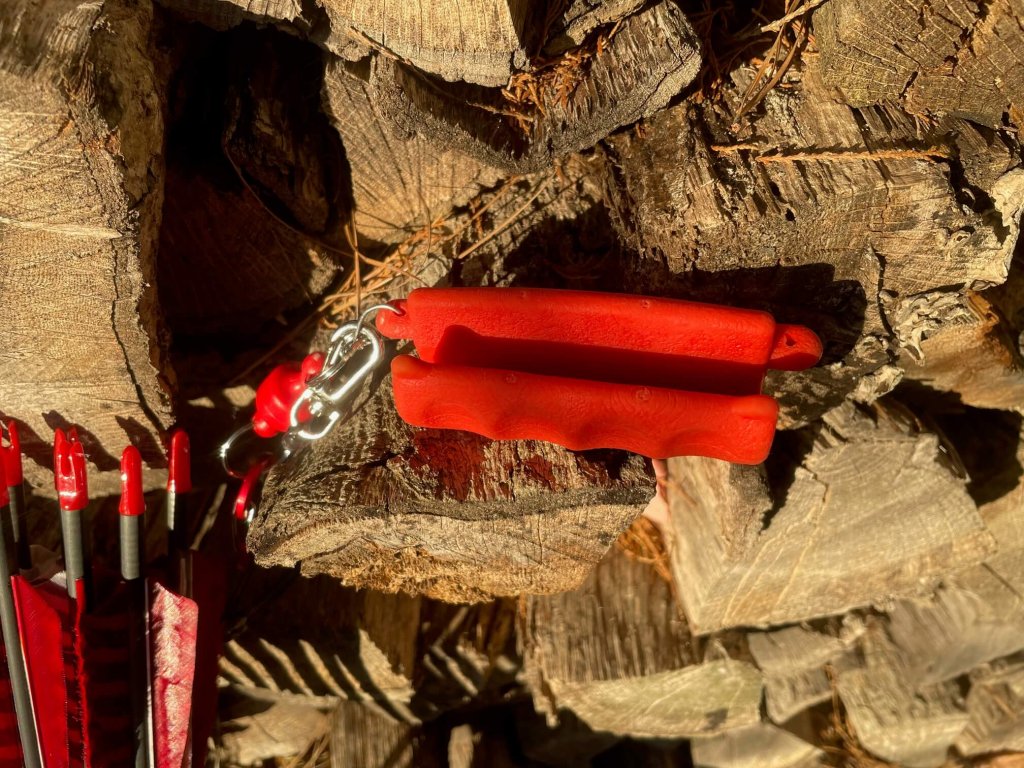
An arrow puller is basically a big rubber sleeve you slide around the arrow which will give you a lot more leverage as you pull it free. I say this is not absolutely necessary because I almost never use mine, but there is one situation in which an arrow puller is really an arrow saver.
Most archery targets are framed in and supported by wood. When you’re just starting out, you’re going to hit that target frame once or twice. Don’t be ashamed, we’ve all been there. It’s not something you want to do (it’s bad for the arrow, believe me) but it’s also a part of learning. You won’t get better without practice.
But here’s the thing. That wood target frame is an arrow thief. It is a nightmare to pull most arrows free with your bare hands. Those target frames hold onto arrows like a vise grip.
Trust me, there are times when you will have to forfeit your arrows. I’ve seen archers begrudgingly do as much. Sometimes you just can’t get them out. But with an arrow puller, at least you stand a better chance.
A Quiver
A quiver is also something you will want to have at the range, although, strictly speaking, it is not absolutely necessary. You could just carry your arrows or leave them on the shooting bench, although that is a little sloppy. Truthfully, some archers keep their arrows in their pockets.
But a quiver gives you a nice place to carry and organize your arrows (and your other traditional archery tackle, by the way) and it also gives you somewhere to place them while you’re retrieving your arrows from the target. Trust me, it gets hard holding onto half a dozen arrows while you’re still trying to pull some free.
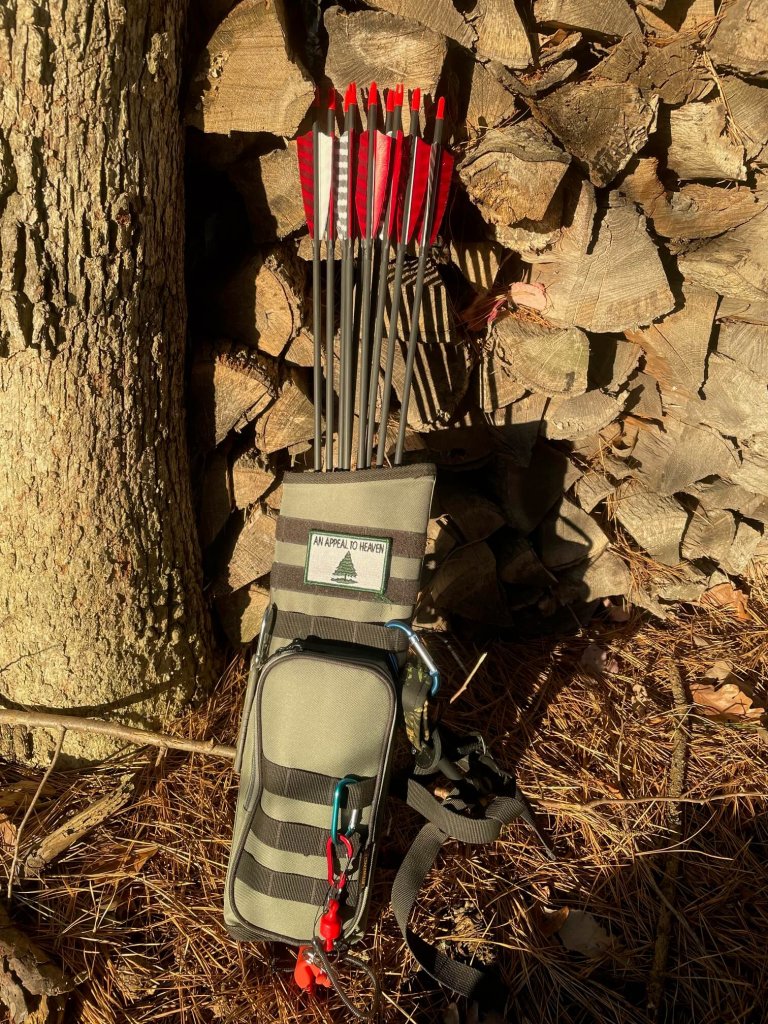
Anyway, there are lots of different styles of quiver. Back quivers are, of course, the accepted traditional standard, but I prefer a hip quiver for range training because it makes the arrows much easier to access (without the need to look, by the way) and it’s a lot easier to return arrows to a hip quiver than to a back quiver, too.
The image above is of the quiver I use at the range when I’m training. It’s plain and cheap, but it keeps the arrows easy to access and it’s MOLLE-equipped with loops where I can attach my gear – like my arrow puller, which you can see in the picture.
A Bow Case
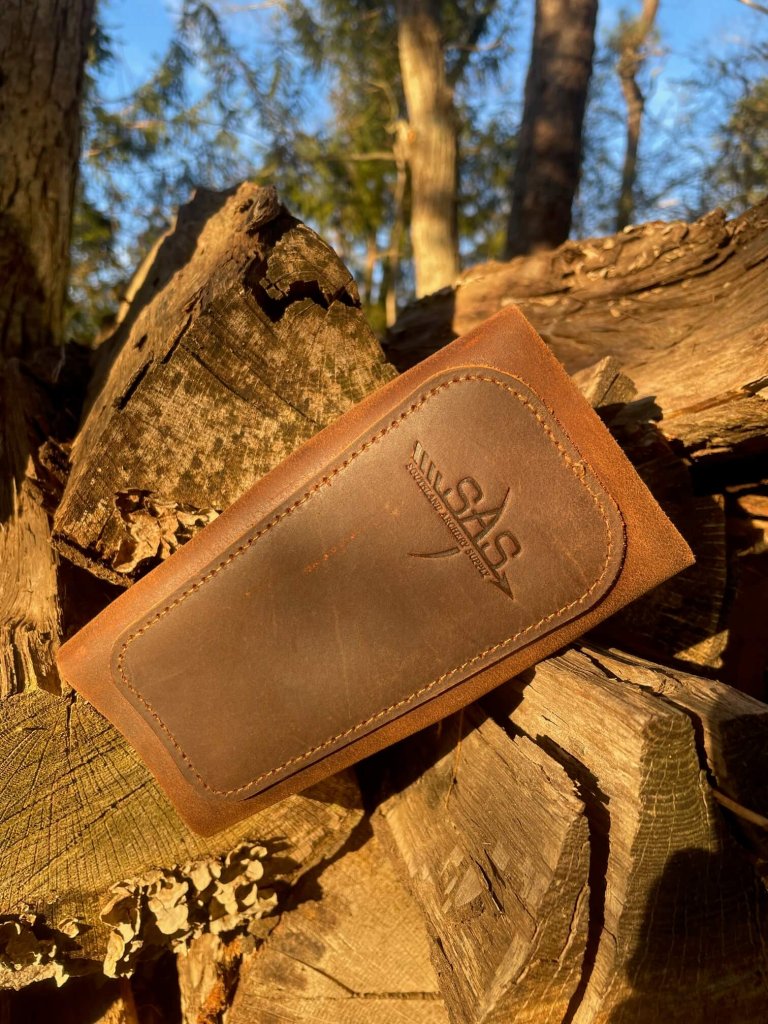
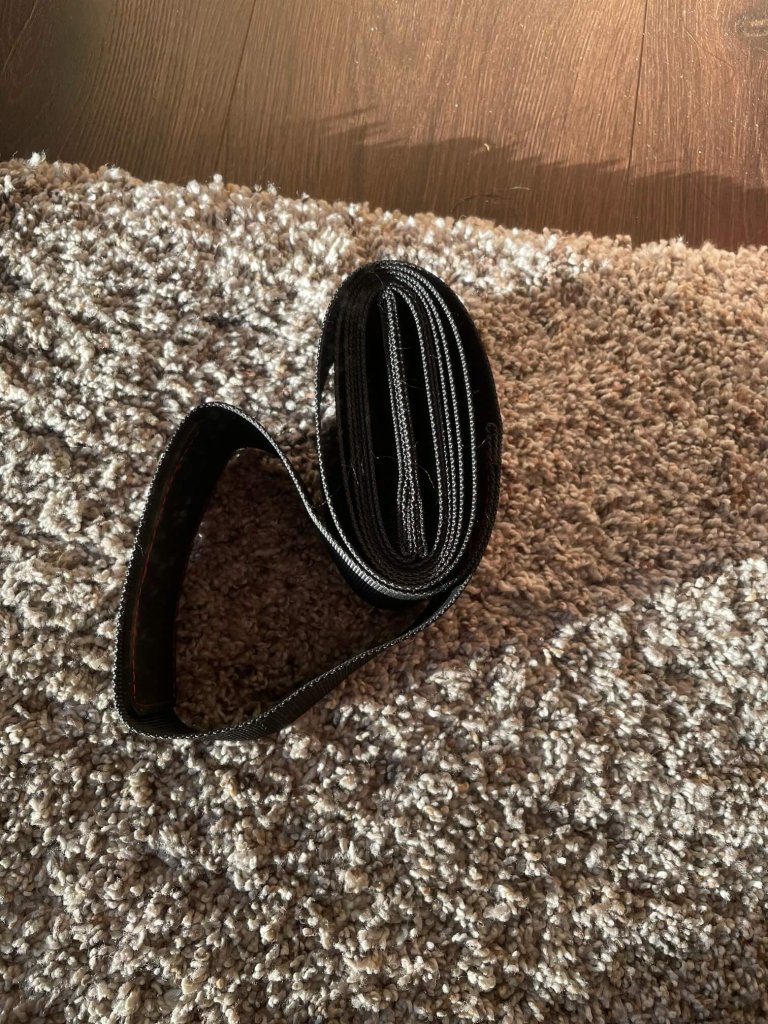
You don’t absolutely need a bow case, but it will protect your bow in transit. For my traditional bows, I use a bow sock. You can get one for very cheap and it will help insulate and cushion your bow while you’re taking it to and from the range.
Getting Started with Traditional Archery
At the end of the day, this is all you need to get started with traditional archery. Hopefully you found this guide helpful and will be taking up the sport soon!
Nock and draw (and be safe!).
~The Eclectic Outfitter