“A sharp tongue is the only edged tool that grows keener with constant use.” ~Washington Irving
I actually had no intention of writing this post until recently, when it became apparent to me that the skill of developing a usable edge on a cutting tool is not, in fact, elementary.
Forgive my arrogance, if you would please. In this post, I’ll take you through the basic steps necessary to get your knife sharp – sharp enough to shave with.
And, before we go any further, you may want to bookmark this for reference: Don’t Have a Leather Strop? Try These 4 Alternatives. It goes through some of the things you can use as a strop in case you don’t have one.
Let’s get into it.
Step One: Assess the Damage, Choose a Stone
In order to get your knife – any knife – ripping sharp, you must first diagnose its current condition. If your knife is already pretty sharp it won’t take much doing. If it’s dreadfully dull, you’ll need to progress through several stones before finishing the edge and stropping.
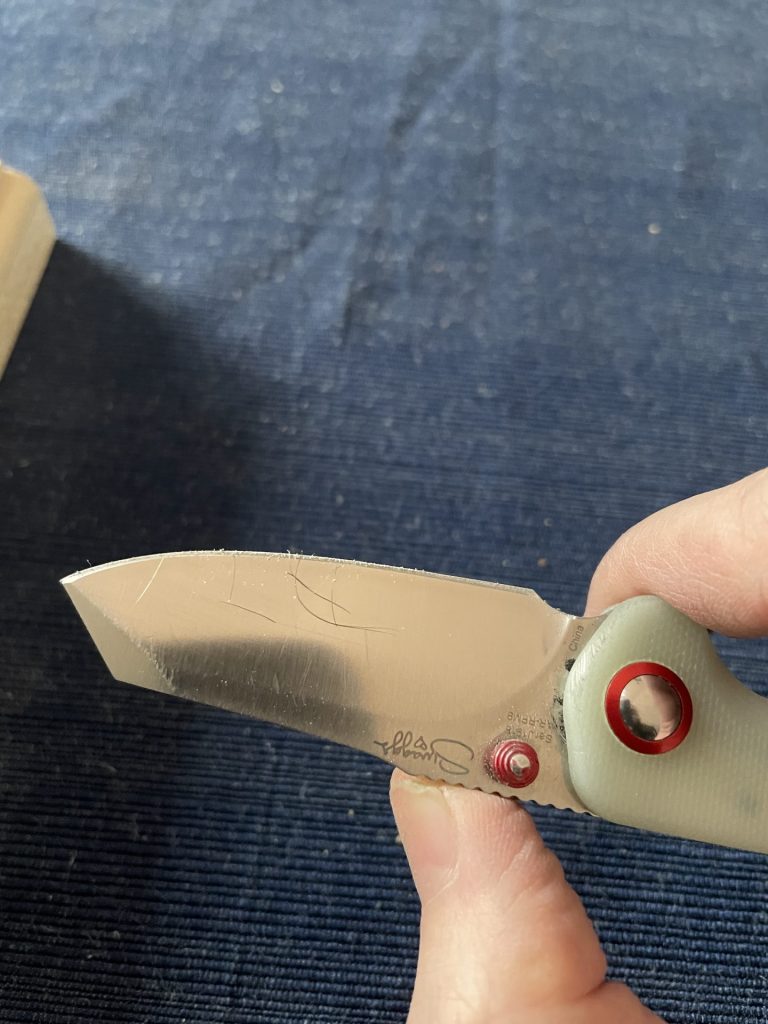
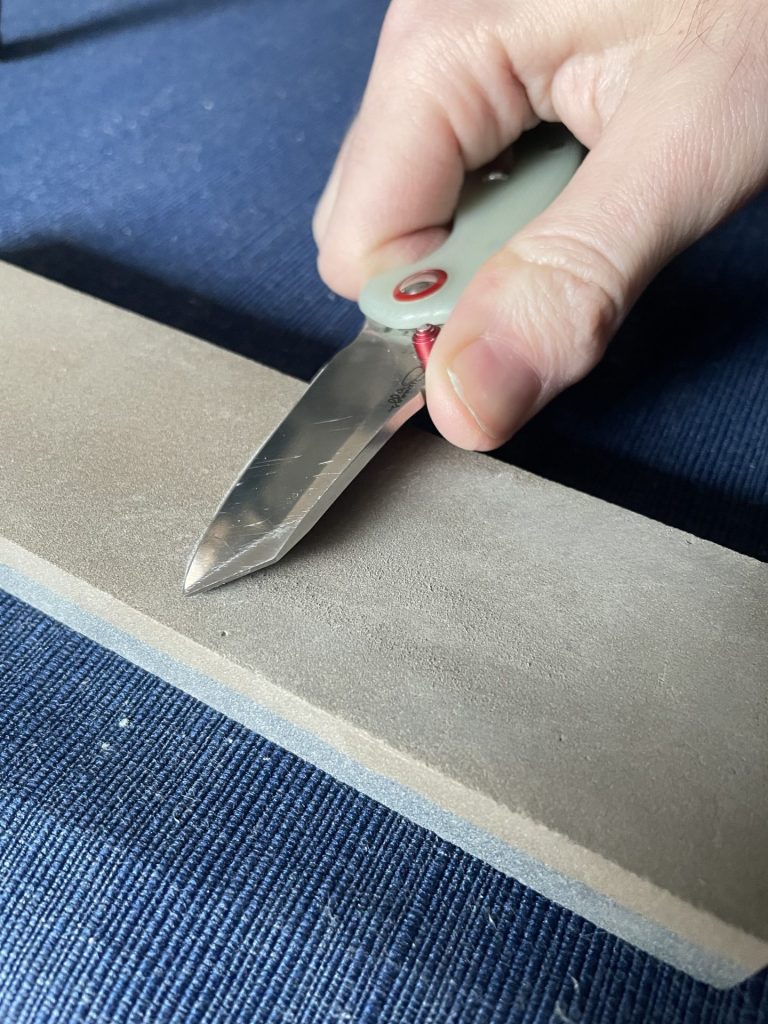
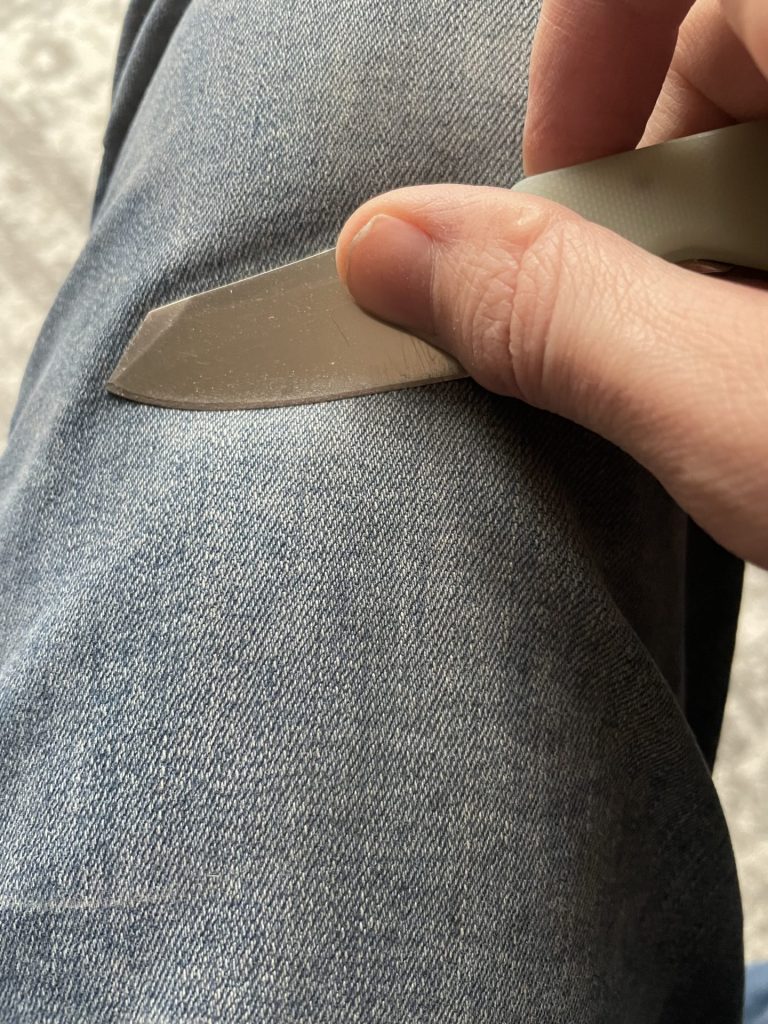
For the purpose of tutorial,I’ll be retouching the edge on my CJRB Maileah, which, if you read this blog, you may know I carry and use every day. Since I use it everyday, it’s fairly dull. You wouldn’t be able to tell from the picture, so you’ll have to take my word for it.
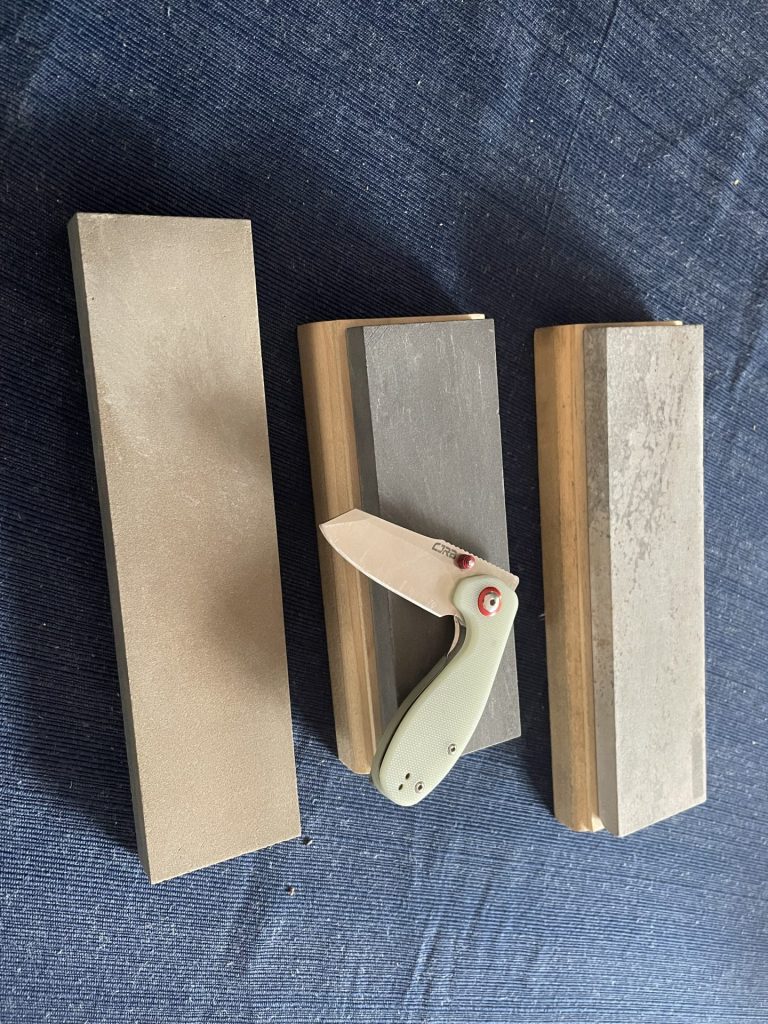
Considering the fact that my knife is fairly dull, I’m going to start with an aggressive stone. This one is a Smith’s bench stone that has two grits. The more aggressive side is 100 grit – not necessary for me right now so I’ll be starting with the less aggressive side which has a grit of 220.
To play it on the safe side, I suggest you start with a stone in a similar grit.
Step Two: Choose an Angle
Most guides will tell you that you need to sharpen your knife with a 17° to 20° angle. I do not disagree. Let your use of the knife dictate that. A shallower angle is better for a finer edge, but this will dull faster with hard use. A steeper angle will not blunt as easily, but will not be as sharp.
Since this is a pocket knife, and I use it for mostly light duty, I’ll be taking an angle somewhere between 15° and 17° because I like my knives sharp.
Now, it’s possible that your stone – if you purchased it – came with a sharpening guide. Feel free to use this if it did.
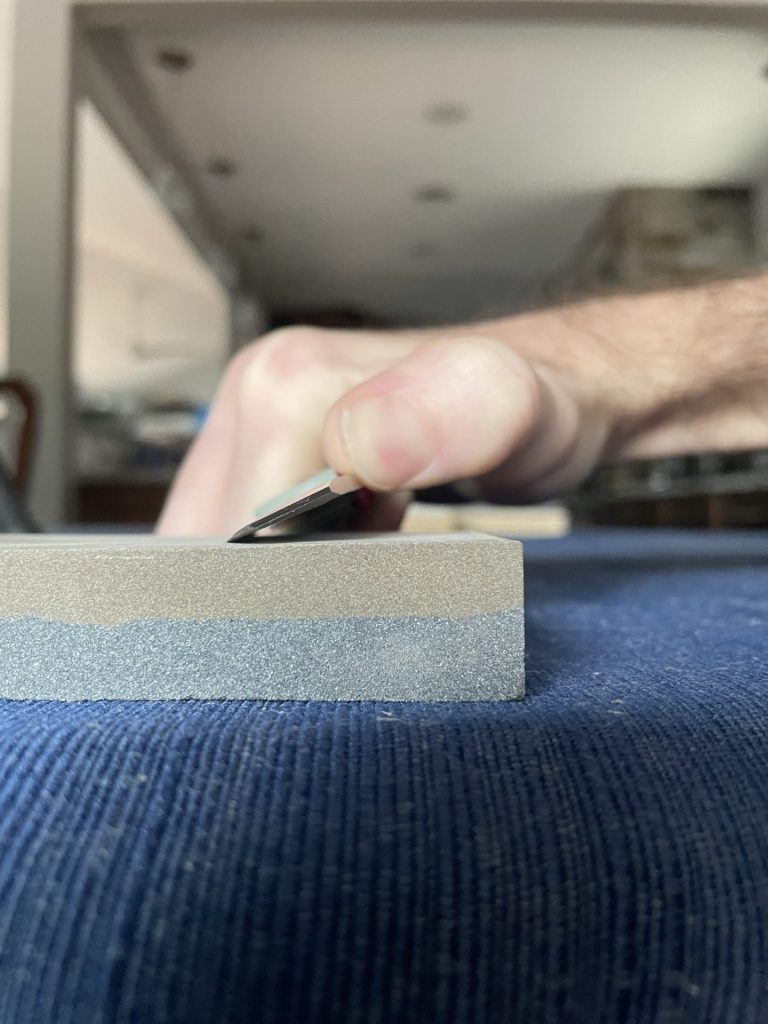
As for me, here’s a trick you can use that will work with most knives. Place the knife on the stone with the cheek of the blade flat against it. Then, raise the spine of the knife a little less than a centimeter. The angle this forms will depend on the height of the blade, but for most knives this will create an angle between 10° and 20°, which is precise enough for our application.
Step Three: Restore the Bevel or Edge
The first step in resharpening your knife is to restore the bevel by using the coarse grit stone mentioned above. It is important that you don’t change the angle at which the edge contacts the stone while you are doing this or you will damage the edge and prolong the process of sharpening.
With edge contacting the stone at the angle mentioned in the last section, sweep the knife forward over the stone in a fluid, deliberate motion, almost as if you are trying to shave a thin sliver off of the surface of the stone.
This will grind away a miniscule amount of steel from the edge. After your first pass, pick the knife up, bring it back to where you started and repeat the motion. Some guides will tell you to rub the knife in a circular motion over the surface of the stone; I prefer to move the knife back and forth in a plowing motion. This actually accelerates the process of removing steel from the edge.
If your knife is very dull, you will need anywhere from ten to 30 passes.
After 10, check the blade with your thumb, by running your thumb – lightly! – across the edge, not along it. Once it starts to feel sharp again, proceed to the next step.
Step Four: Flip It Over
Next, flip the knife over and repeat the process on the other side. For me, I switch hands even though I am right dominant. If it is easier for you, use your right hand, but you will now be drawing the knife towards yourself instead of away.
If you prefer to use you left hand like I do, simply reestablish that 15° to 20° angle and sweep the knife over the stone as if you are trying to shave a small slice off the stone with the other edge.
Make ten passes, check the edge, and if it does not feel sharp, continue the process. By 30 passes, your knife should be at least starting to feel sharp again.
Check the edge with your thumb again. Once it starts to feel sharp, it’s time to take a step up to a stone with finer grit.
Step Five: Next Grit Down
Taking a step up in grit means you will need to use a stone that has a finer crystalline structure. Sharpening stones are measured in grit, and the higher the number, the finer the grit. In general, common grits to use are 100, 220, 400, 600, 800, 1000/1200, 3000, 5000…and then after that, it starts to get ridiculous. You can get a knife basically razor sharp with just a 3000 grit stone (but not a straight razor, though that’s a different issue and a different process).
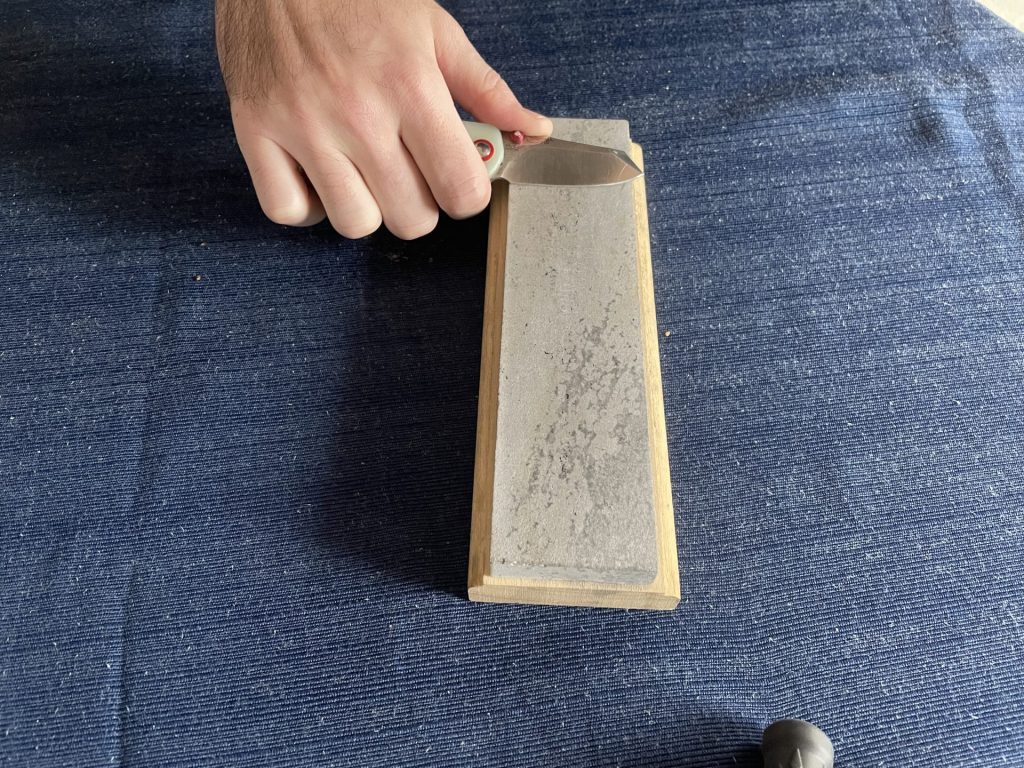
Since I started with a 220-grit stone, the next step up for me is going to be a soft Arkansas bench stone. Since this is a natural stone, it’s impossible to know precisely what the grit is, but this arkansas stone, which is made of novaculite, typically has a grit rating of somewhere between 800 and 1200 (which is pretty wide variance). I estimate mine at about 1000 grit.
You might be thinking that I need a less dramatic step up between 220 grit and somewhere around 1000, but realistically, I generally don’t.
Step Six: Repeat
Now you’re going to do the same thing with the next grit (in my case the soft Arkansas stone) that you did with the coarser stone.
Place the knife blade flat on the stone, raise it about a centimeter to establish the proper angle, and then shave the knife over the surface of the stone as if you are trying to slice off a sliver You will notice that the edge moves more fluidly over the finer grit stone; you will feel much less resistance.
I need to stress at this point that it is imperative that you match the sharpening angle as closely as you possibly can, and that you should use a sharpening guide if you can’t do it freehand. If you don’t match the angle, you’ll be removing steel from the wrong part of the blade and won’t be creating a sharp edge.
It’s going to take many more passes with the finer stone than it did with the coarse stone because each pass will remove much less steel from the edge. Be patient. You’re going to need to make between 30 and 100 passes. I often make 50 before I notice a legitimate difference in my edge.
Once I check the edge with my thumb and determine that it feels sharp enough to flip, I flip the knife over and make the same number of passes on the other edge.
Step Seven: Step Up in Grit Again, Raise a Burr
After you make between 30 and 100 passes on both sides of the edge on the 1000 grit stone (or whatever grit you move up to) it’s time to move up again.
For me, my next step up in grit is going to be to a hard black Arkansas stone. This is, chemically, the same mineral (novaculite) as the soft Arkansas stone, but it has a finer crystal structure and a higher grit. I estimate the average grit of my hard black Arkansas stone at 3000 grit. The surface feels smooth to the touch and it’s fine enough to get a razor sharp edge on a knife.
Repeat the same process with the next stone in grit as you did with the last one. Place the blade flat against the stone and then raise the spine about a centimeter to establish the proper angle.
Again, you will need to make a larger number of passes because the higher grit means the stone is even less efficient at removing steel than the last one. It takes, once more, between 30 and 100 passes to finish the edge, and sometimes longer. It is also just as important as ever that you maintain a consistent sharpening angle.
After 30 passes, feel your edge very carefully, since it will likely be very sharp. Once you start to feel what is effectively a pronounced ridge of steel on the edge – called a burr – you are nearly finished with the sharpening.
This burr rises on the side of the edge opposite the one you are sharpening. It feels like a sticky ridge, and once you raise it, it means you have basically completed the reestablishment of the edge. Removing the burr, which is one of the final steps in sharpening a knife, will produce a very fine edge, that mean almost along a “perfect” line – a true wedge.
Step Eight: Remove the Burr
The last step in sharpening a knife before you move on to stropping and then testing your edge, is to remove the burr you raised in the last step.
To do this, all you need to do, is flip the knife over, set it at the same angle you were using in the last step, and make the same number of passes along the stone, just like you have been doing all along.
Due to the high grit of the stone, it will probably take quite a few passes once again, between 30 and 100, at least to completely remove the burr.
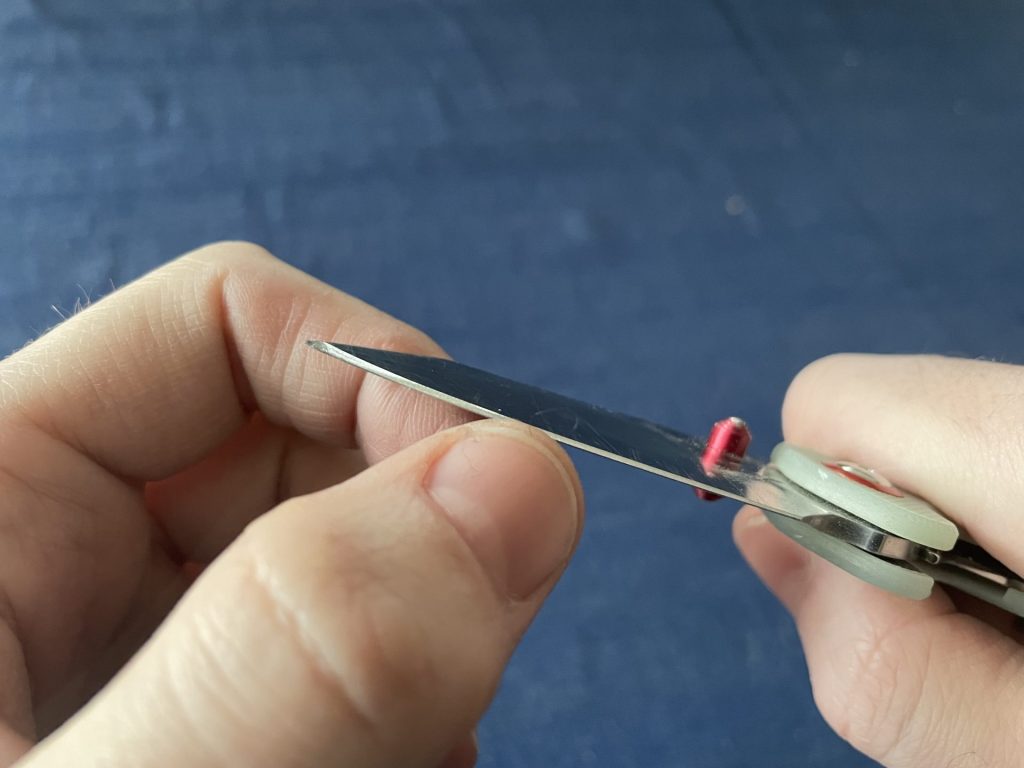
At this point, feel your edge – again very carefully – with your thumb. It should feel very sharp at this point, almost sharp enough to pop hairs with.
The last step is to strop the knife.
Step Nine: Strop
In a nutshell, honing is the process of removing steel from a knife edge to establish the edge that “makes’ the knife sharp. Stropping is the process of aligning all of the little microserrations on the edge. The more these microserrations fall in a line, the sharper the knife will be. Stropping doesn’t remove steel; honing does.
You can get a more complete explanation of what stropping is and why it is important in the link at the top of this article to one of my older posts.
You can actually buy a leather strop, or you can use a piece of cardboard, or your pants or an old belt. Check my other post for more details.
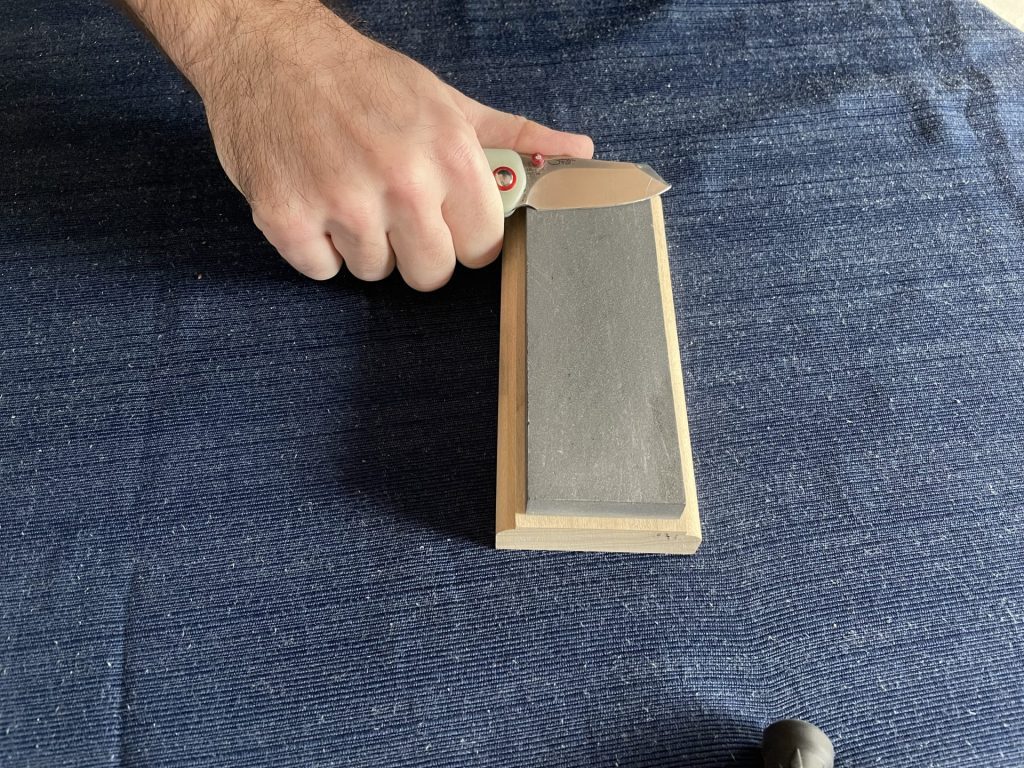
Anyway, when you strop, you will be moving the knife backwards along the strop material, spine first instead of edge first.
So, when you strop, you will want to lay your blade completely flat against the strop material, then stroke the blade, spine first (away from the edge) down the length of the material, almost as if you are polishing it using the strop.
When you complete a pass, either pick the knife up completely away from the strop and repeat the process or rotate it around its spine and reverse the motion. Do not turn it over the edge. This will roll your edge and completely ruin the process and purpose of stropping.
I tend to complete anywhere between 30 and 50 passes with a strop to fully finish the edge.
By the end of it, your knife should be almost sharp enough to shave. All you need to do now is test it.
Step Ten: Test
The last step here is simply to make sure your knife is actually as sharp as you need it.
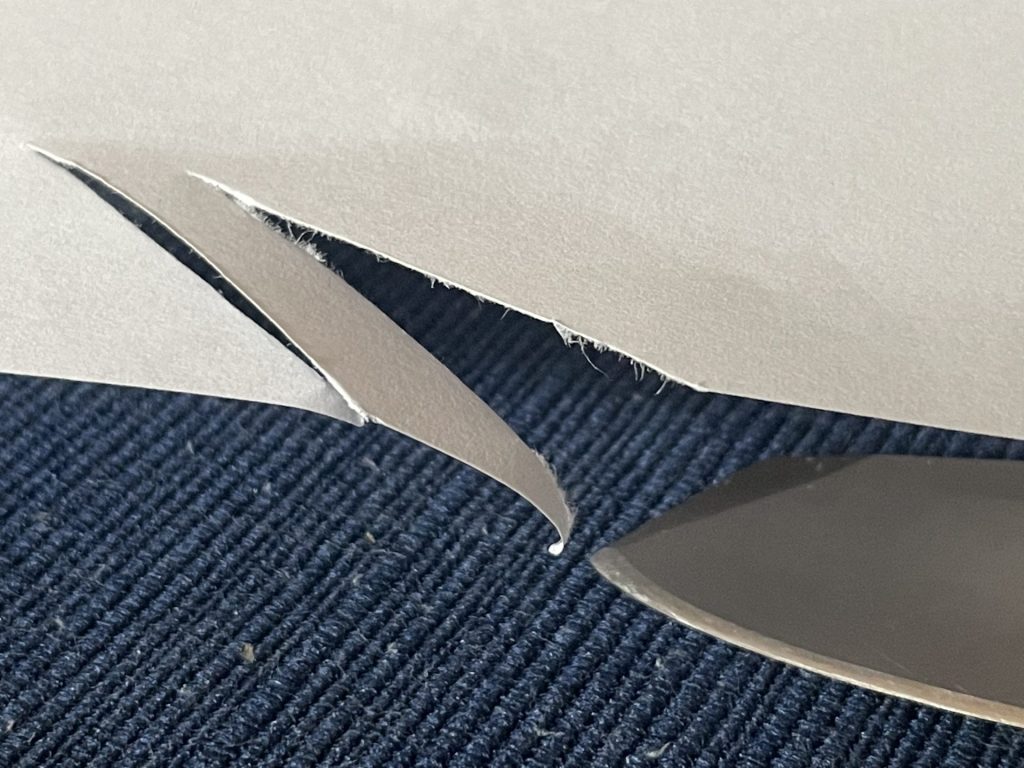
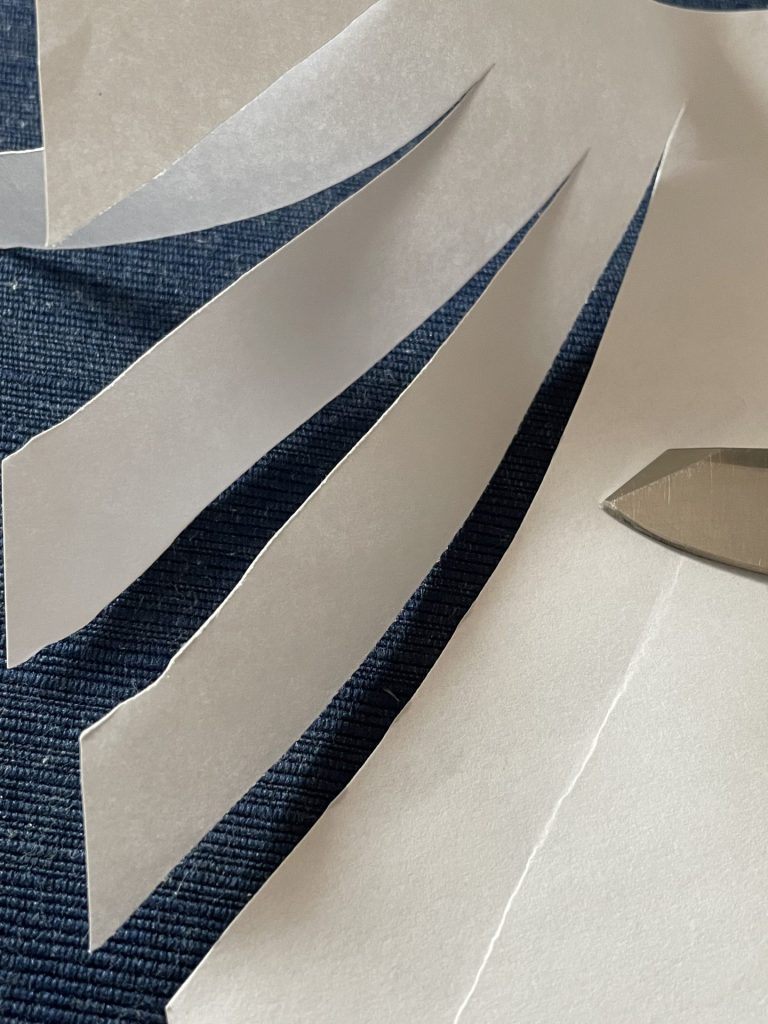
There are two good ways to do this. The easiest way is to check the edge on a piece of paper. Get a piece of newsprint from the recycling or a piece of printer paper, then press your edge straight down into it, without making a slicing motion.
A truly sharp edge will bite cleanly into the paper without tearing it. A sharp-but-not-razor-sharp blade will need a slight slicing motion to glide through the paper.
Check the cuts, too. They should look like the image below, with very clean edges – not ragged edges, which means the edge tore the paper instead of cleanly cutting. If your edge can glide through the paper without tearing it, congrats, you’ve got a sharp knife.
Another quick test you can do if you’re in the field and don’t have any paper handy is to check it on the hair on the back of your hand.
Check to see if you can pop a few hairs off the back of your hand – and of course, be extremely careful. Don’t try to force it. Push the edge forward over your hair – do not slice or you will cut yourself.
If the knife pulls your hair instead of cleanly popping it, it’s either going to need a few more passes on the high-grit stone or a bit more stropping.
I suggest sticking with the paper-test method until you get familiar with a sharp blade. Then if you’re feeling bold, by all means try the hair test.
There You Have It: A Brand New Edge
That’s basically all there is to it. Bookmark this page and come back to it any time in the future when you need to retouch an edge, until you master the skill and then you can pass it on.
Stay sharp.
~The Eclectic Outfitter