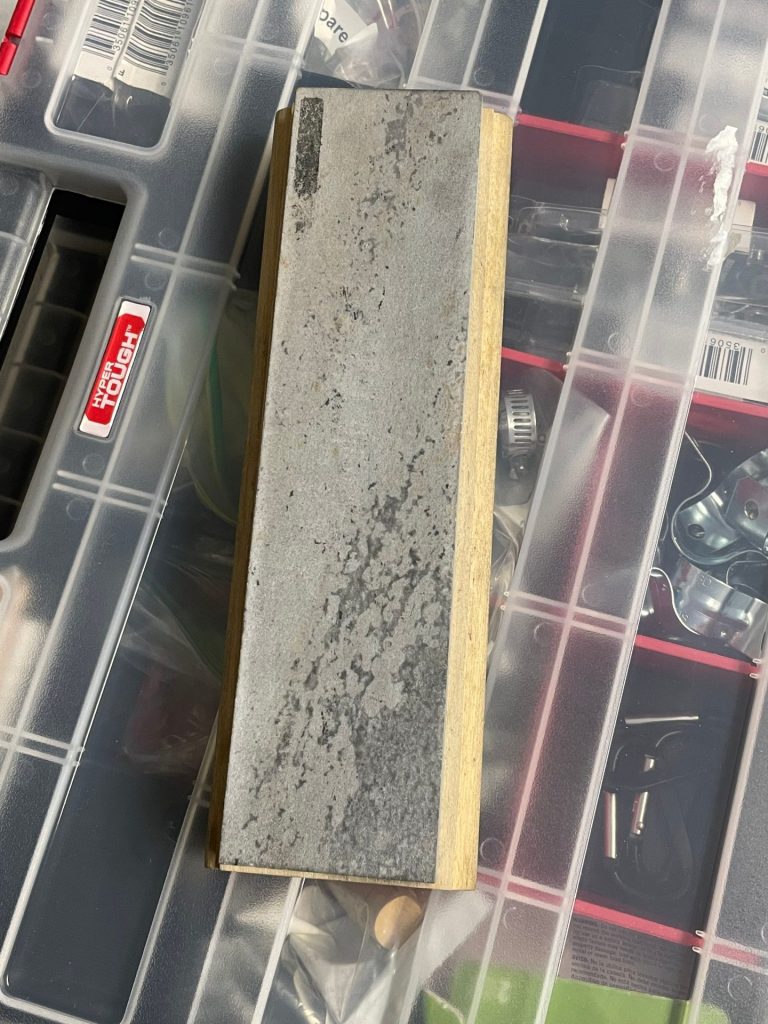
Sharpening stones like this soft arkansas stone will lose their efficacy over time and you will need to restore the grit on the surface. You need a few grades of fine sandpaper to do this. Keep reading for the details.
“The mechanic that would perfect his work must first sharpen his tools.” ~Confucius
For the longest time, I didn’t even realize that sharpening stones needed any sort of maintenance at all.
I basically understood the concept that over time the stone would wear away, and that sharpening stones don’t last forever. That said, there is more to sharpening stone maintenance than that.
As you use a sharpening stone, some of the surface wears away. Worst of all, as you use the stone, small particles of steel will rub off and become embedded in the stone’s grit. Over time, this gives the stone a glass-like surface that is not effective at sharpening a tool.
One thing you can do about this is wet the stone before you sharpen. My understanding of this is that wetting the stone helps “float away” some of the steel swarf, keeping the stone in good shape and improving its efficacy.
I have a habit of using my stones dry as a matter of convenience, simply because it is easier and faster than wetting the stone.
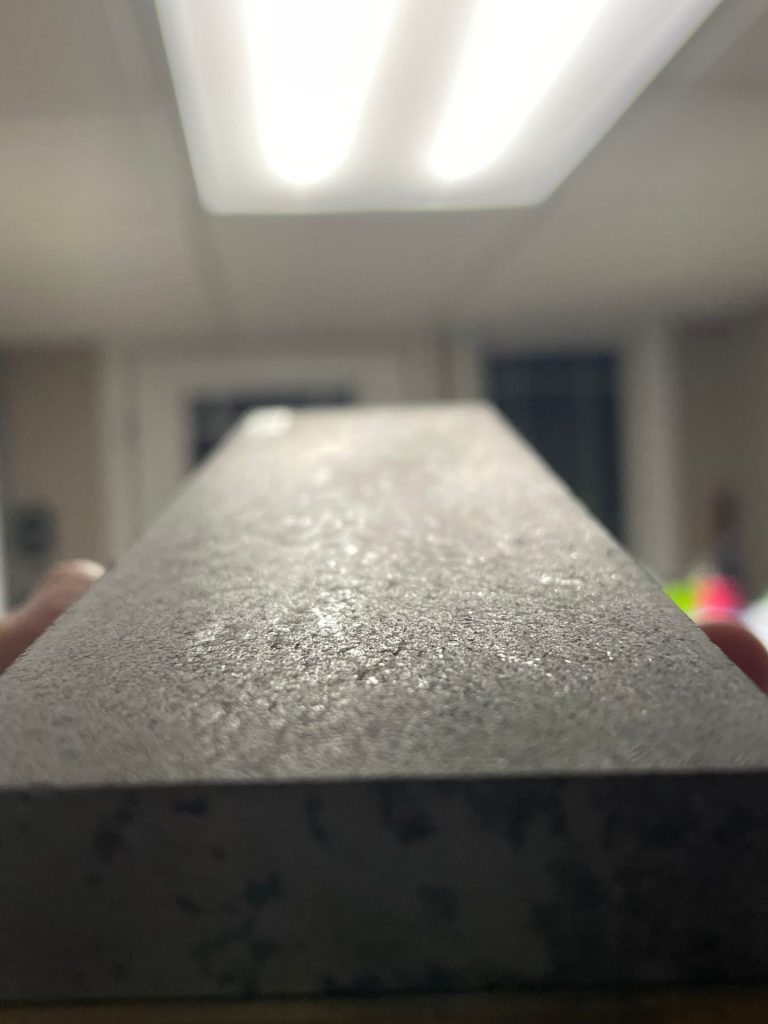
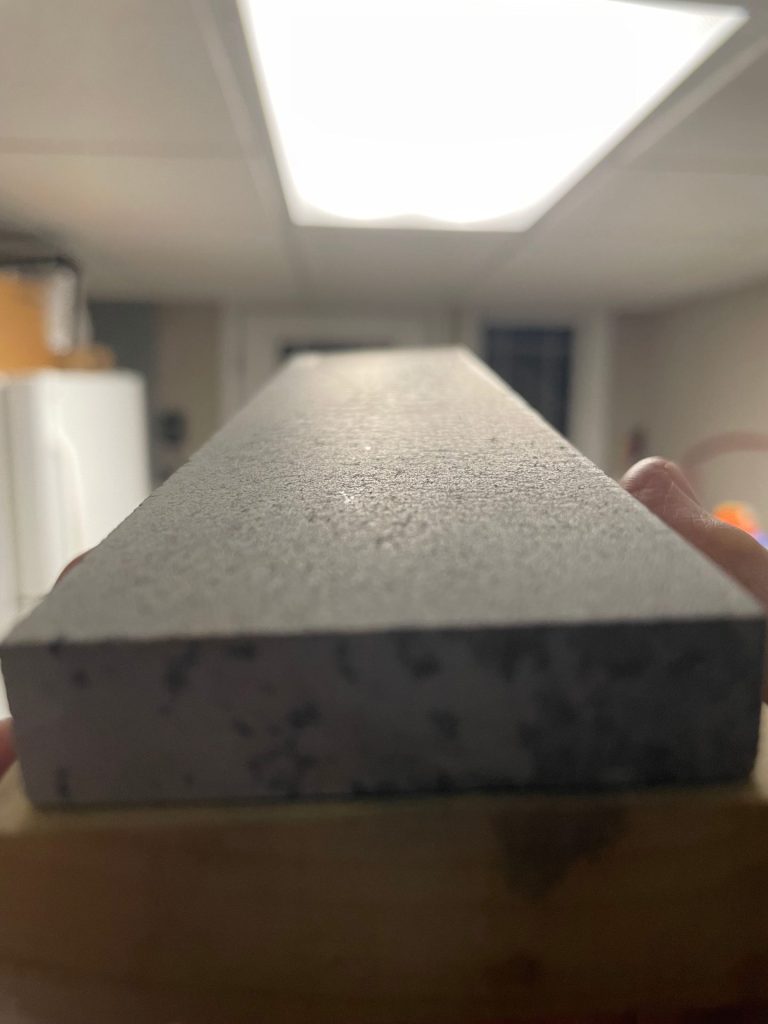
But, either way, as you can see in the picture below, when held up to the light, the stone will have a smooth, glassy surface and will not sharpen efficiently.
As you can see in this picture, this soft arkansas stone is fairly glossy looking. This is because the surface has been smoothed out by repeated sharpenings, raising the grit, and plugging up the stone's pores with steel swarf. This diminishes its ability to sharpen effectively.
Fortunately, there is something you can do to bring your stones back to shape, it doesn’t take a lot of work, and it will substantially extend the life of your sharpening stones.
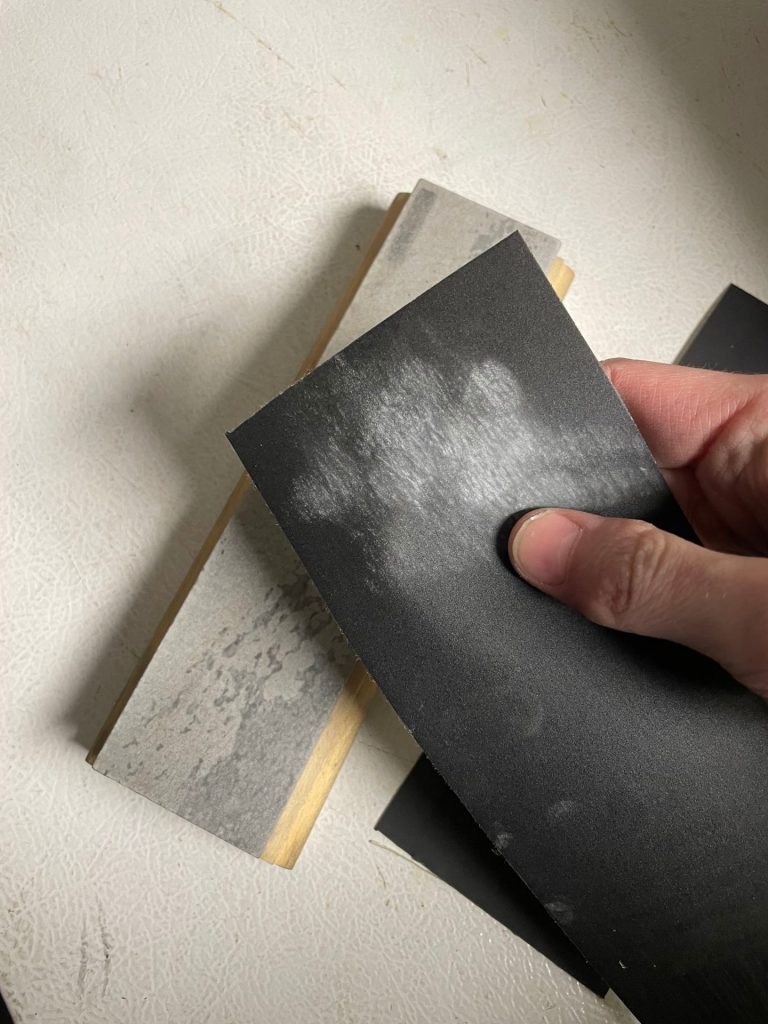
Restoring your sharpening stones will depend on the condition they’re in, but in my case, all I need is a few different grits of sandpaper.
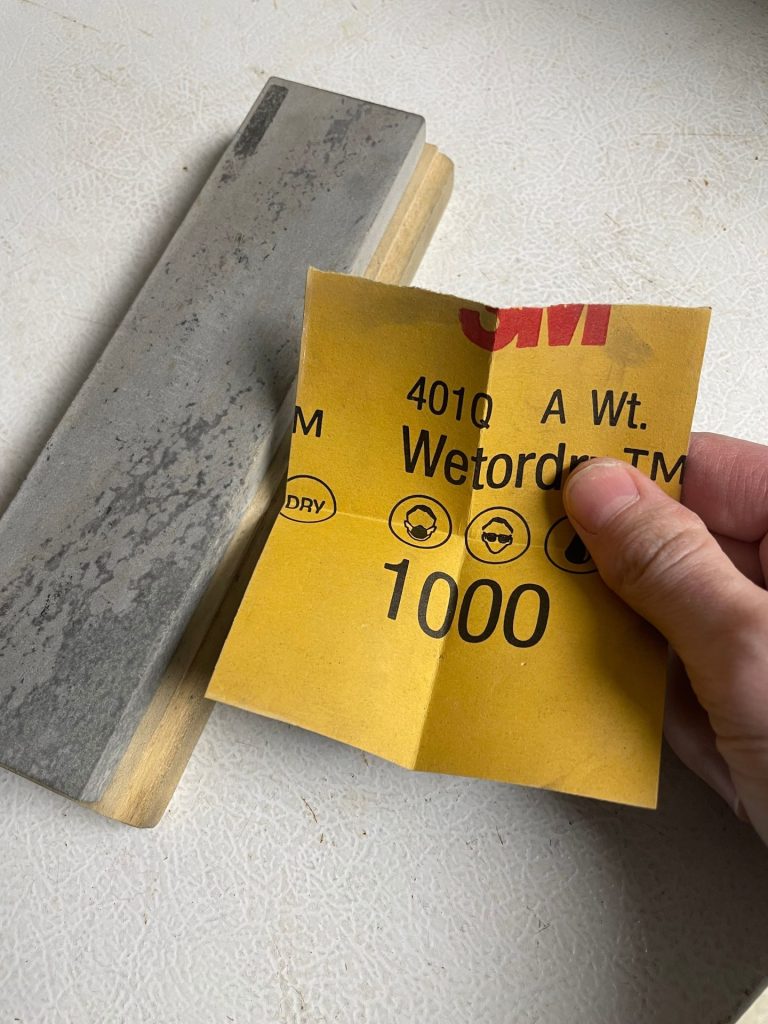
One thing you need to be aware of is you want to bring the surface of the stone back to a grit that’s close to what it was when it started. Since this is a soft arkansas stone (novaculite), it started at somewhere around 1,000 grit – that’s the grit I want to finish with.
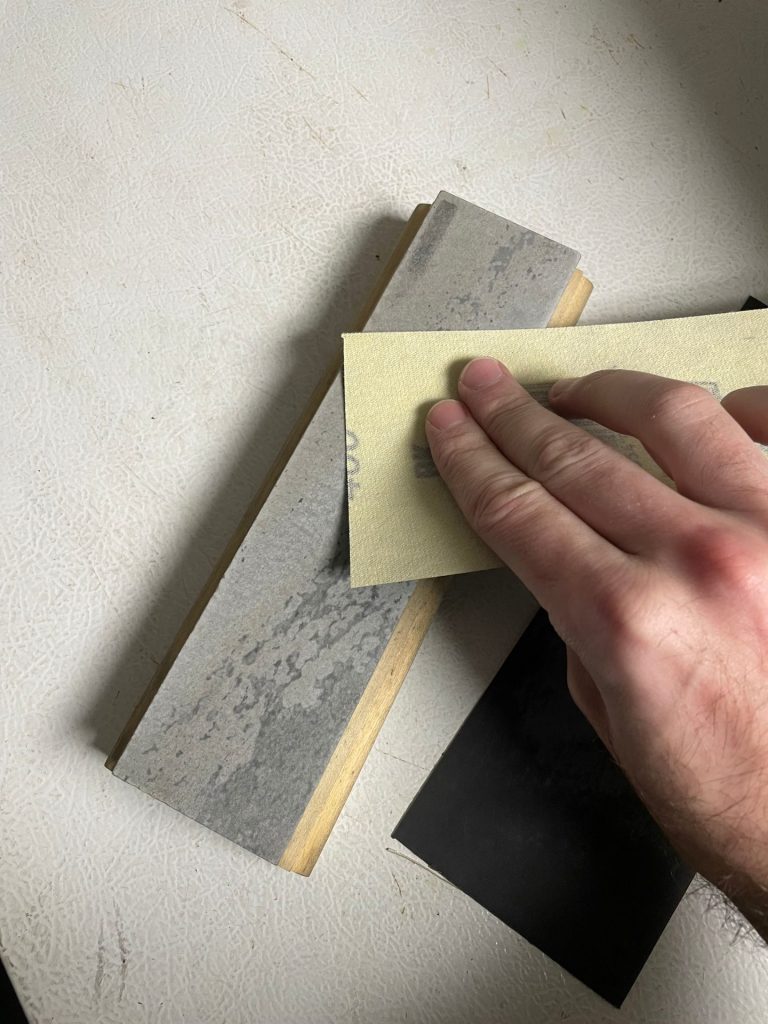
Since my stone is pretty badly “clogged” with swarf, I started with 400 grit sandpaper. What you want to do is rough up the surface of the stone so you can refinish it.
Give the stone a good working-over with the 400 grit sandpaper. This will help rough up the surface and restore its tooth - which is what makes the sharpening stone effective in the first place.
A few good passes with the sandpaper and you’ll start to bring back the “tooth” of the surface of the stone.
Keep going until you can feel the grit of the stone starting to return. As you can see from the sandpaper I’m using, it’s removing some of the top layer of the stone, which is necessary to resurface it.
After I’ve made a few good passes with the 400 grit sandpaper, it’s time to step it up a notch to 600. Repeat the same process, and you’ll feel the tooth of the surface of the stone start to smooth out.
After you’ve made a few good passes with the 600 grit sandpaper, step it up to 1,000, the grit with which you’ll finish the sanding.
Give it a solid run down and make sure you get the sides and corners of the stone, too. You want to entirely remove all swarf from the surface of the stone and refinish the surface.
After you've passed over the stone with 400 and 600 grit sandpaper, hit it with 1000. That's pretty close to what the original grit of the stone was.
After you rough up the entire surface of the stone, wipe it down with your hand. You’ll get a lot of white and gray powder coming off the surface of the stone – this is both stone dust and steel swarf.
Give it a second go-over with the 1,000 grit sandpaper, and then wipe it off again. To finish the job, wet a piece of paper towel and wipe off the surface of the stone. You should get a good deal of stone dust and steel swarf coming off on the paper towel.
You see all that white powder on the face of the sandpaper? That's dust from the stone, which is proof you're refinishing the surface.
Use a fresh paper towel to repeat the process until the towel comes away clean and white, indicating that the surface of the stone is completely clean.
After you’ve wiped it clean, use a dry paper towel to dry the stone and check your work by angling the stone against a light.
As you can see in the picture below, the stone now has no more “glassy” surface and looks matte in finish, indicating the stone has been “unclogged” of steel swarf and the proper grit of the stone has been restored.
In this image, you can see that the surface of the stone is far less reflective than in the picture at the top of this article. This is because the tooth, or grit, of the stone has been restored. This stone will now sharpen much more effectively than it did before I restored it.
Now, when you go to use your stone again, you’ll be able to feel just how much more effectively it sharpens your tools.
Stay sharp.
~The Eclectic Outfitter
2 thoughts on “Bring Your Sharpening Stones Back to Life”
Jones says:
Really wish I knew this a year ago when I sharpened 6 knives with a stone older than I am with poor results, thanks Eclectic Outfitter!
Glad you found the post helpful. Check back for more tips like this. I’m going to do a post soon on how to touch up an edge on the bottom of a coffee mug.
Really wish I knew this a year ago when I sharpened 6 knives with a stone older than I am with poor results, thanks Eclectic Outfitter!
Glad you found the post helpful. Check back for more tips like this. I’m going to do a post soon on how to touch up an edge on the bottom of a coffee mug.