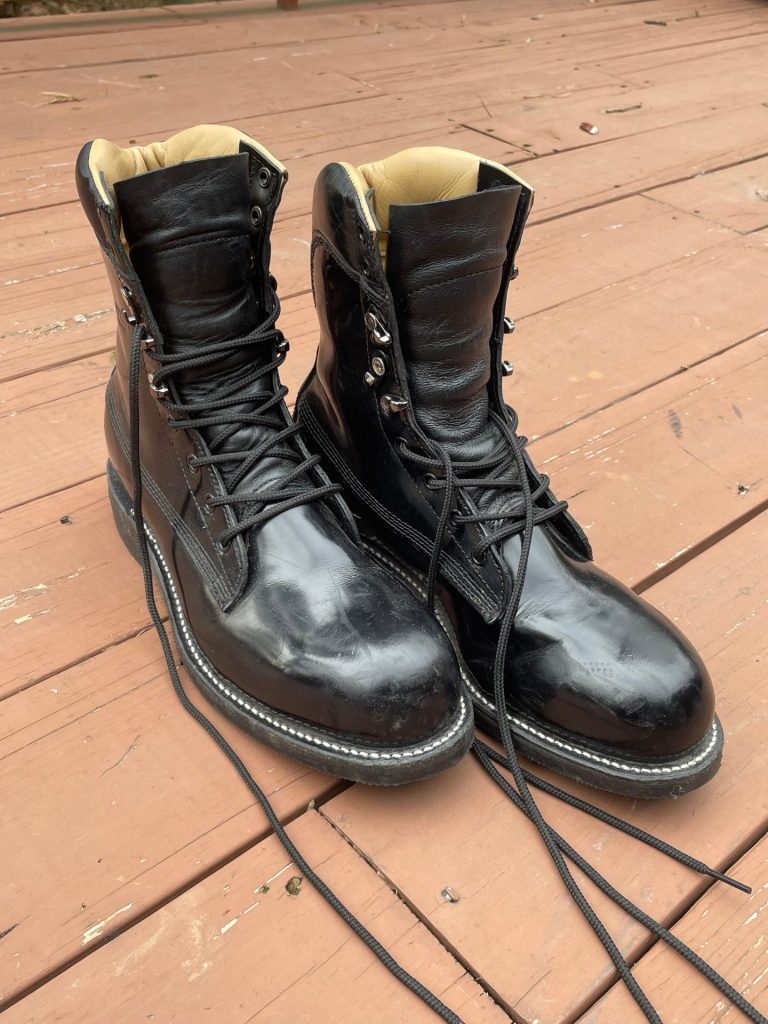
“I prefer a good pair of boots to Shakespeare.” ~Leo Tolstoy
Have you ever bought a new pair of boots and noticed that the laces were sort of stiff. Like if you put a bend in them, or tied them, they stayed where they were and didn’t want to come undone?
It’s probably because the laces were waxed.
Many quality bootlaces do come waxed, and there’s quite a good reason for doing so. Much like a waxed cotton canvas jacket, waxed laces last longer and can prevent water damage.
But if your laces don’t come waxed, is it worth it for you to wax your own? Here’s what I can tell you about waxing your bootlaces, whether or not it’s a good idea, and how you can do it at home.
In Favor of Waxing Your Bootlaces
First let’s cover the reasons you might want to wax your bootlaces. Like most things I will cover on this site, my focus here is on function and not form. This is all about performance.
Whatever you use to wax your bootlaces, either beeswax, paraffin, or some commercially available treatment, wax will help keep water out of your bootlaces.
This is beneficial, for a number of reasons. One is that both cotton and synthetic bootlaces are highly porous and absorbent. If they get wet, they will remain wet for a long time.
This is problematic for two reasons. One, it can encourage your bootlaces to rot, grow mold, or sustain other water-related damage. The other is that wet laces will leach water into your boots, which will damage the uppers, especially if they are made of leather.
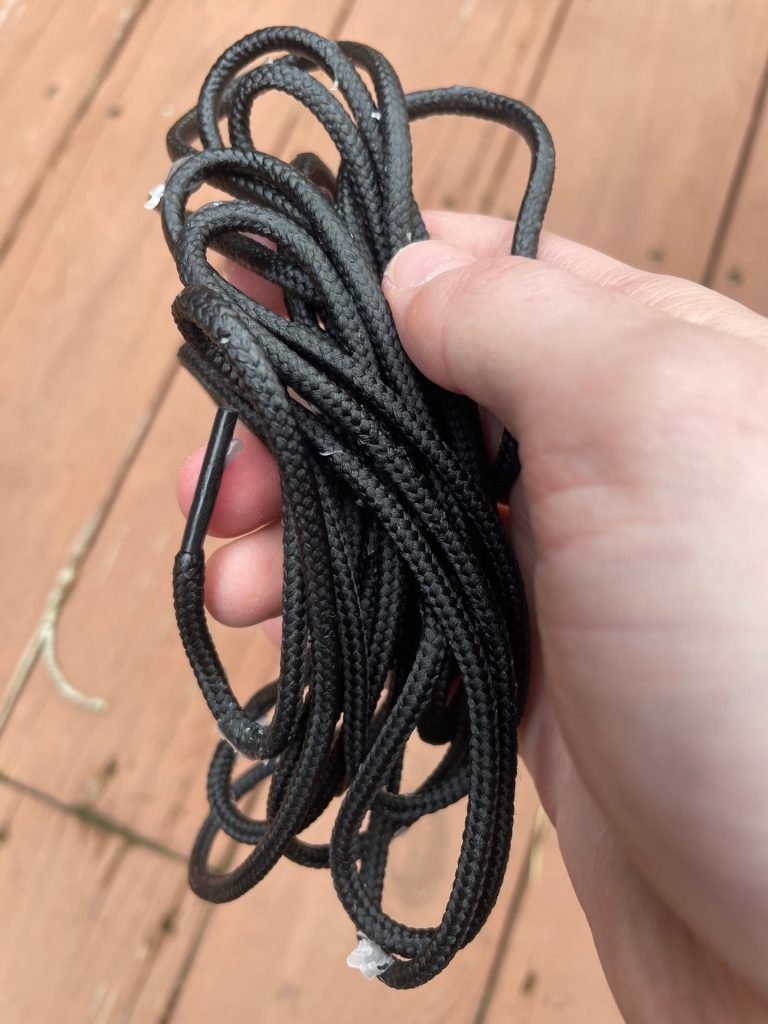
I can’t prove this next point, but it has seemed to me that waxed laces are more wear-resistant than bare laces. Perhaps it is because the wax helps keep the fibers that constitute the laces bound and slicked together.
Bare laces will wear on rocks and briars as you trudge through the field. Over time, these will fray and the laces will fall apart. It seems as though wax treatment makes the laces tougher.
While the previous point I cannot substantiate with hard evidence, this I can. The wax in laces helps give them memory. Where you put the laces, they want to stay, whether you kink, roll, fold or tie them. Waxes laces also bite down on their own knots, so when you tie them, it’s much more difficult to work them free.
This is a boon to hikers and hunters that regularly traverse rough, tangled uplands and dense brush. If you’ve ever walked through growth so dense you couldn’t see your feet, you’d know that the nimble fingers of underbrush are quite adept at untying bootlaces – even when they’ve been double or triple knotted.
More than one when I was upland hunting I had to stop what I was doing and retie my boots. The briars and brambles will untie your bootlaces for you quicker than you might imagine. Or maybe you know exactly how quickly it can happen. Either way, waxing your laces gives them an extra hedge against the mischief of the ground cover. Waxed knots tend to keep themselves together.
So, knowing all of that, if your new boots came with bare cotton laces, maybe you want to wax them yourself. Fortunately, this project is one of the easiest boot hacks you can undertake at home and it only takes a little while to complete.
How to Wax Your Bootlaces
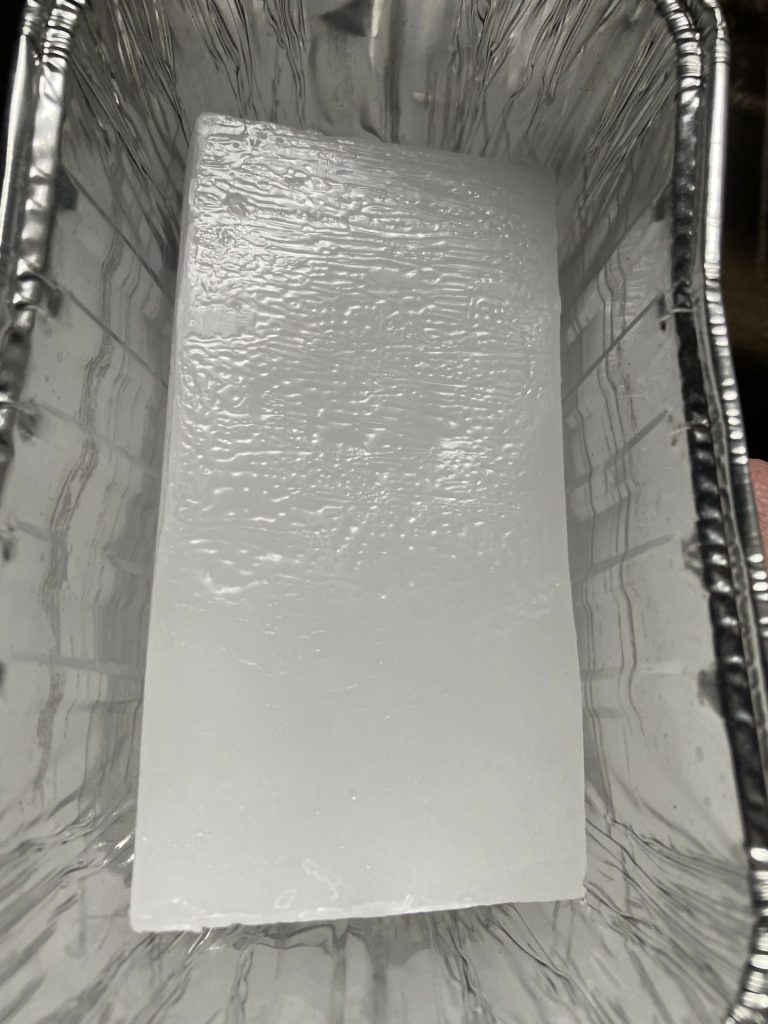
If you want to wax your bootlaces at home, or retouch an old pair of waxed laces with a fresh coat, all you need are a pair of laces, some paraffin wax (you can get this at most any hardware store or grocery store, where the canning supplies are) and a vessel that you can heat the wax in.
I use Gulf Wax and heat it in an aluminum catering tray. You can also basically get these anywhere, too.
The first step is shaving off some wax into your container. Thin shavings and little bits work best only because they melt much more readily. It will take you longer to heat big chunks and you don’t necessarily want this wax to be too hot. The hotter it is, the longer it takes to cool on the laces. Ideally, you’d melt it to just a few degrees above its melting point.
Paraffin melts at quite a low temperature, somewhere between 115℉ and 150℉ or so, so whatever method you use to heat it, don’t go overboard.
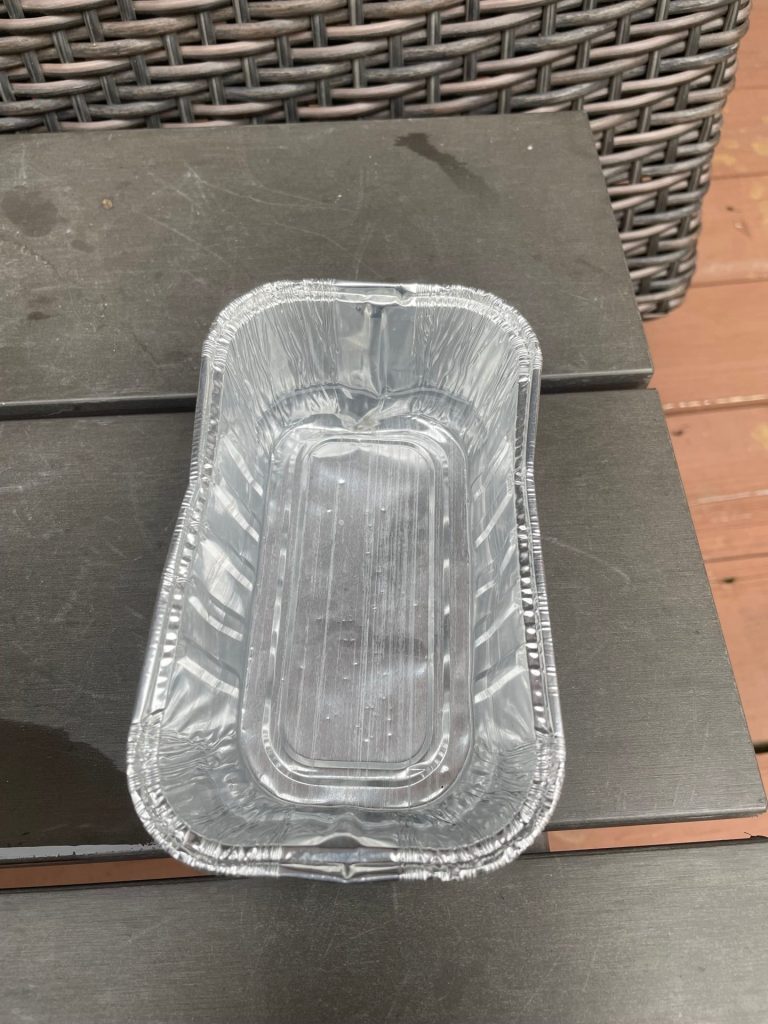
I advise strongly against doing this on the stove. It’s far too easy to overheat the wax and you don’t want to experience a flare up if you can help it. I’ll be using a conventional oven. Set the temp somewhere around 120℉ or 130℉ and don’t go anywhere; you’ll want to keep our eyes on this.
Once the wax is melted, remove it from the oven and place your laces in it. You want to just about submerge the laces in the wax and press them down with your fingers. Ideally, the fibers of the laces will soak up some wax.
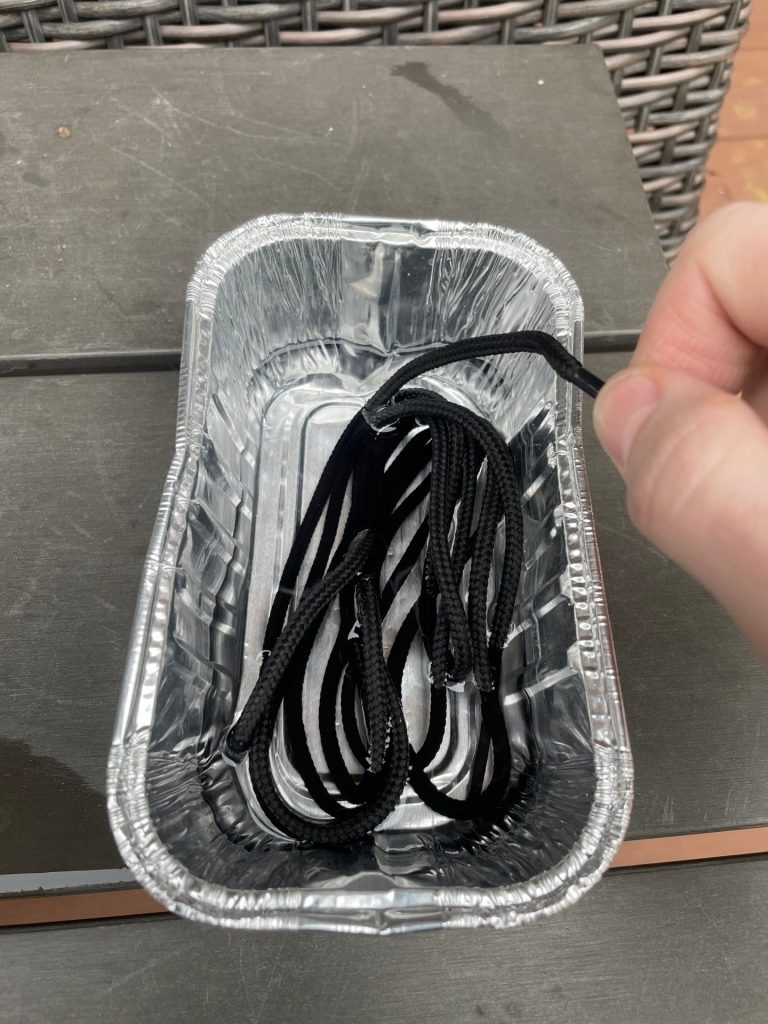
Let them sit in the wax between 20 and 30 seconds, then slowly lift them out. Do this outside or somewhere you won’t mind dripping wax, because that’s going to happen.
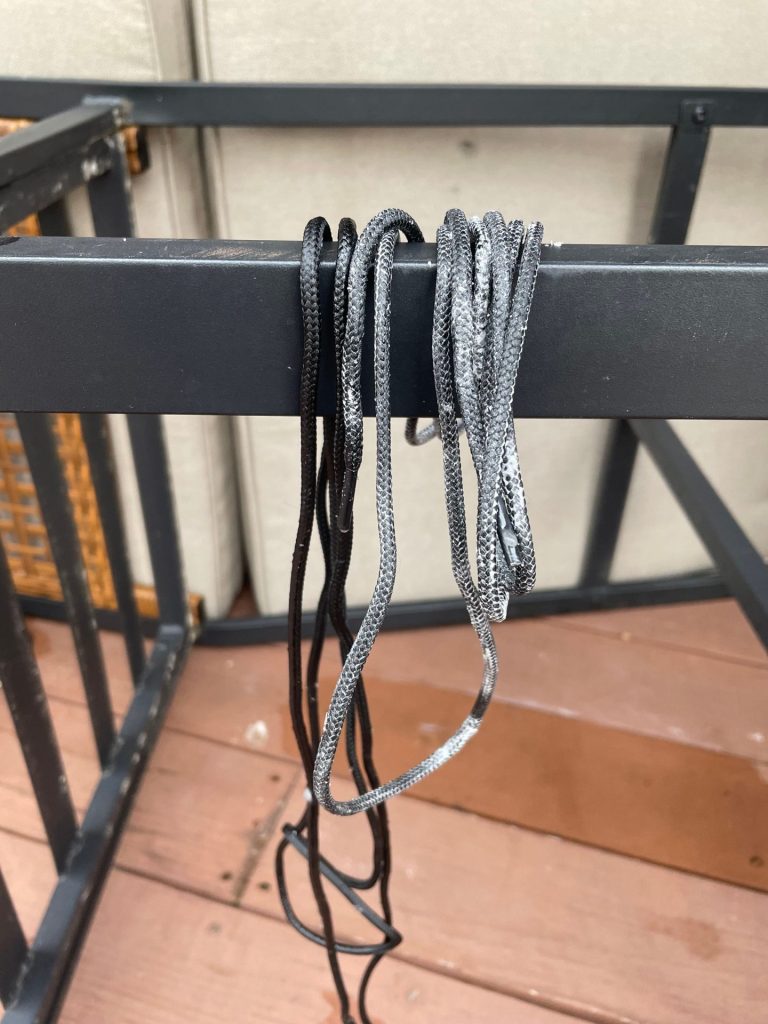
Place one lace down on a paper towel and take the other one in hand, running the lace through your fingers to strip off the excess wax. You can place this in the container holding the wax. Repeat that process two or three times. By the end of it, there will still be some wax on the outside of the laces but that will flake off eventually.
Place that lace down and repeat the process with the other one. By the end of it, your waxes will look slightly chunky and white, as shown below.
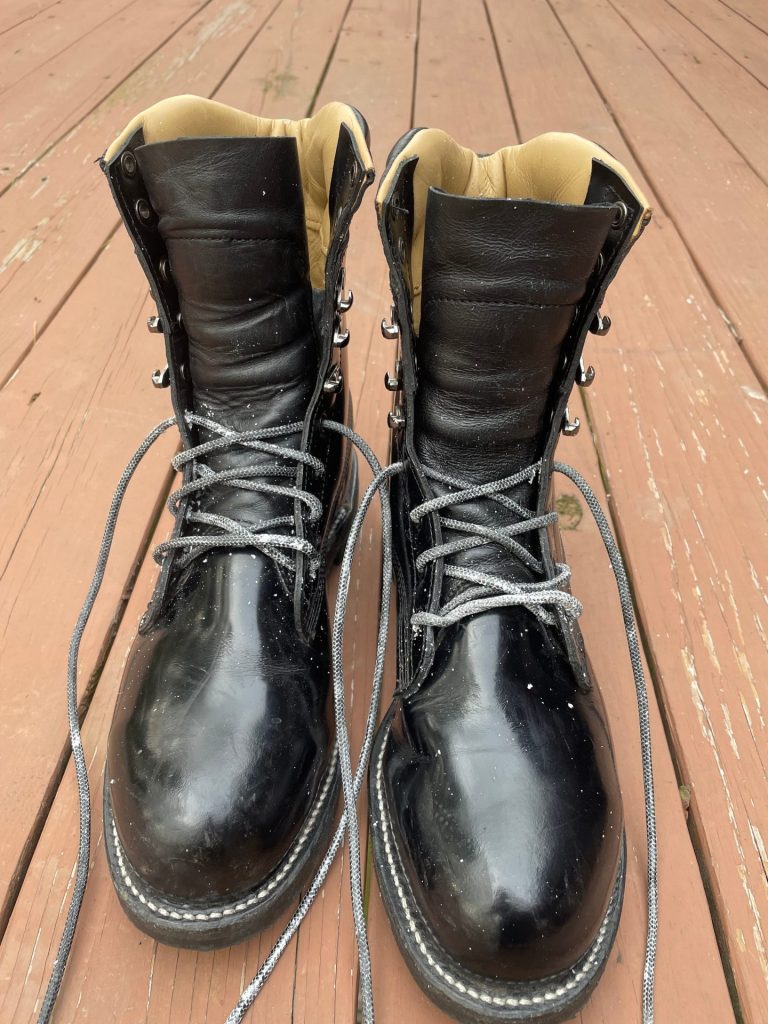
Place the laces somewhere where they can cool fully, then lace up your boots. A few things to note here; one is that it will be difficult to draw your laces through the eyelets. That’s normal. Another is that the freshly waxes laces will shed chips of wax as you lace the boots up, so if you’re concerned about getting wax on your floor, do this outside
Again, freshly waxed laces will look white or faded white. Don’t worry. All you need to do is put a few miles in your boots and the rest of the excess wax will flake off, and your laces will look more or less the color that they’re supposed to. After a few weeks of wear, you won’t even know that the laces are waxed by looking at them.
You’ll sure know by wearing them, though.
~The Eclectic Outfitter